Switching your email service provider from Convertkit to Flodesk? Here’s how to do it step-by-step.
I recently moved my list to Flodesk and have also been hired out to move other people as well.
Have you heard of Flodesk?
It’s all the rage in the online marketing world right now and totally worth the hype it’s getting. If you are even the tiniest bit unhappy with your current email service provider then you definitely need to look into Flodesk.
Switching email service providers can be a pain in the “you know what” though. Let me take the head scratching out of it for you! I’m going to walk you through the exact steps on how to setup Flodesk in the correct order to be as painless as possible and get everything moved over from ConvertKit.
Do you use a different email service? The steps will be pretty much the same, but the terms I use may sound a little different for you.
Let’s get started!
Just getting started with Flodesk? Skip to the bottom of this post for a killer deal on your Flodesk subscription!
STEPS TO SWITCH TO FLODESK FROM CONVERTKIT
Here’s the general order of what needs to happen:
- Design templates
- Create segments
- Create forms
- Set up workflows
- Transfer subscribers
- Start emailing your list
Okay, now let’s dig into each step a little further.
Remember, stick with your fonts and brand colors throughout this whole process. If you don’t see your exact fonts available for use in Flodesk, just google fonts similar to your brand font or just choose one that’s as similar as you can find.
Step 1 – Design
Once you’ve created your account, go to your account info and add your brand colors and logo. This will be really helpful in keeping your emails consistent with your brand.
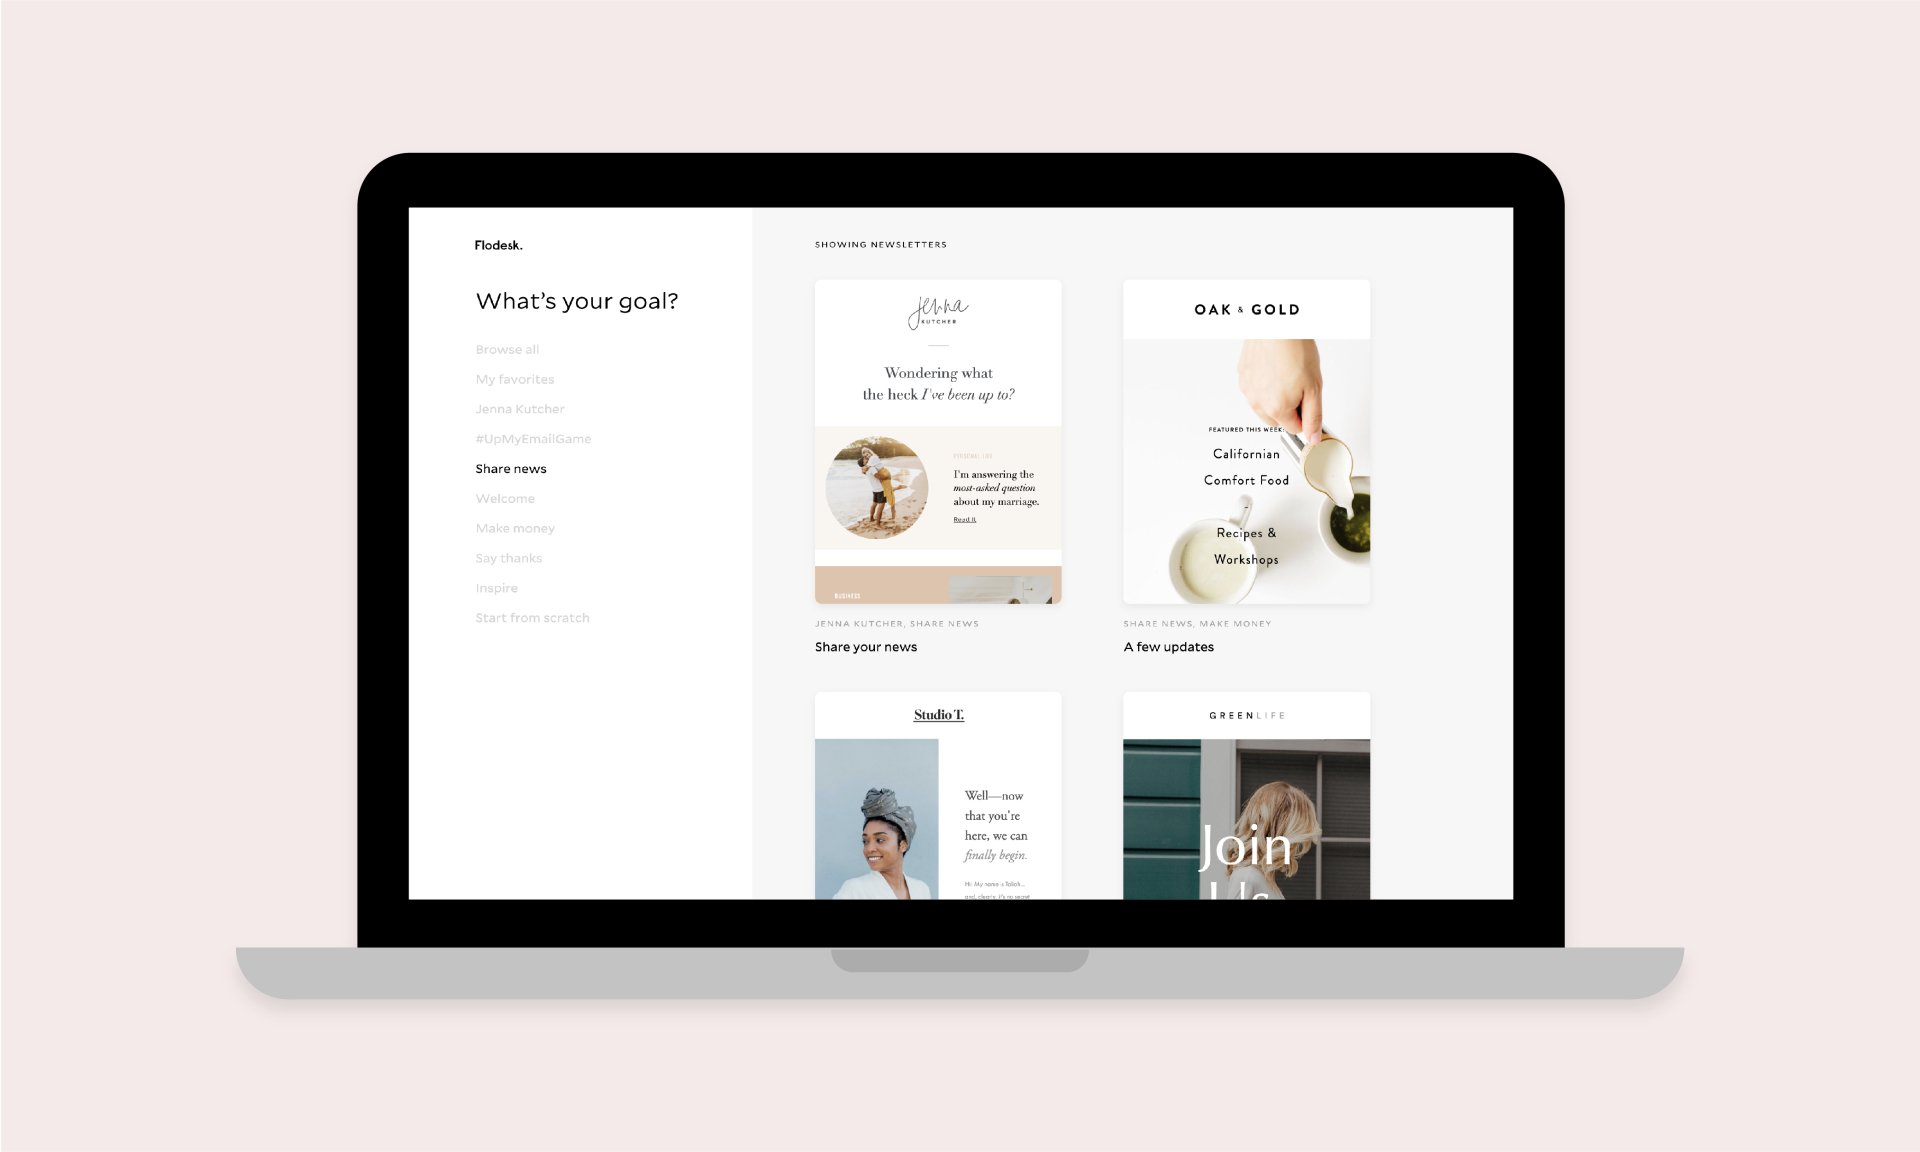
Next, you’ll want to play around with all the gorgeous templates and layouts in Flodesk. It’s time to tell yourself that perfect is a four letter word and just have fun with it!
Create a few completely different emails until you have a good idea of what email design fits your brand best.
Are you more of a maximalist or a minimalist? Do you often have a lot of white space in your design or is it pretty full? Are you drawn to vibrant colors or more muted?
If you haven’t completed Simply Branded yet, these are some great questions to ask yourself to make sure your brand identity is consistent across all platforms and mediums. If you’re stumped on the answers to some of these questions, I highly suggest you check out my new book, Simply Branded, for a step-by-step workbook to walk you through creating the perfect brand identity for your business.
One important thing to focus on is a consistent header and footer for your email template. It’s nice to keep this consistent for your emails, so once you have the look down for a basic email, take out all text boxes or layouts that are in the email more than once, and then save the email as a favorite. This way it will be super easy to reuse over and over again as a jumping off point for all new emails.
When you’re writing an email, click the heart on the left side to favorite an email as seen in the video below.
Once you have some cohesive templates created, time to move onto the next step.
Below is an example of some of the gorgeous templates Flodesk includes!
Step 2 – Segments
Next, I want you to set up segments for your subscribers. Think of segments as categories for your subscribers. Coming from ConvertKit? These are likely similar to the tags you’re familiar with.
Let’s go over some segments you might create…
CUSTOMERS
Tracking what someone has purchased is a great segment to create if you offer products. Whenever someone purchases a product, add them to the segment Customer and also add them to a segment specific to the product so you know exactly what they purchased.
If someone opts in, to a freebie I might still mark them as customer depending on your niche. I would also track what opt in they received.
So, you might create:
- Customers
- Purchased: Product A
- Purchased: Product B
- Purchased: Product C
- Opt In: X
- Paying Customer
- Warm Lead (for an unpaying customer, but has already downloaded one or more freebie)
SERVICE-BASED
Have a service-based business? Track what type of services a subscriber is interested in by segment. For example, you might have:
- Client
- Potential Bride
- Vendor
Photographer? You might segment based on what type of client a subscriber is. For example, newborn, family, or corporate.
INTERESTS
Another way to think about segments is by interests. What is a subscriber interested in? Maybe you share content about both DIY projects and home decor.
Depending on what opt-in someone joins your list from they might be in the segment:
Interest: DIY or Interest: Home Decor
Want to let people receive an email every time you publish a new blog post? Have an RSS segment so you can track those subscribers and filter later on once you’re writing emails.
BRAINSTORM
There are so many different ways to think about segments. I highly suggest you take 5 minutes and just write down some descriptive words for all the different type of people that will be opting in to your list. Don’t overthink it. Just write.
Once you have a solid list, start grouping them together and figure out the simplest way to categorize your audience to give you the information you need.
When you know what your segments will be, start creating them in Flodesk. Hover over audience, click segments, and then click on Add Segment.
Step 3 – Forms
Next, you want to create your general form. Think of forms as the way someone signs up from your platform to actually get on your email list. If you are moving from ConvertKit, forms are generally the same on both platforms. Just re-create the forms you already have on ConvertKit in Flodesk.
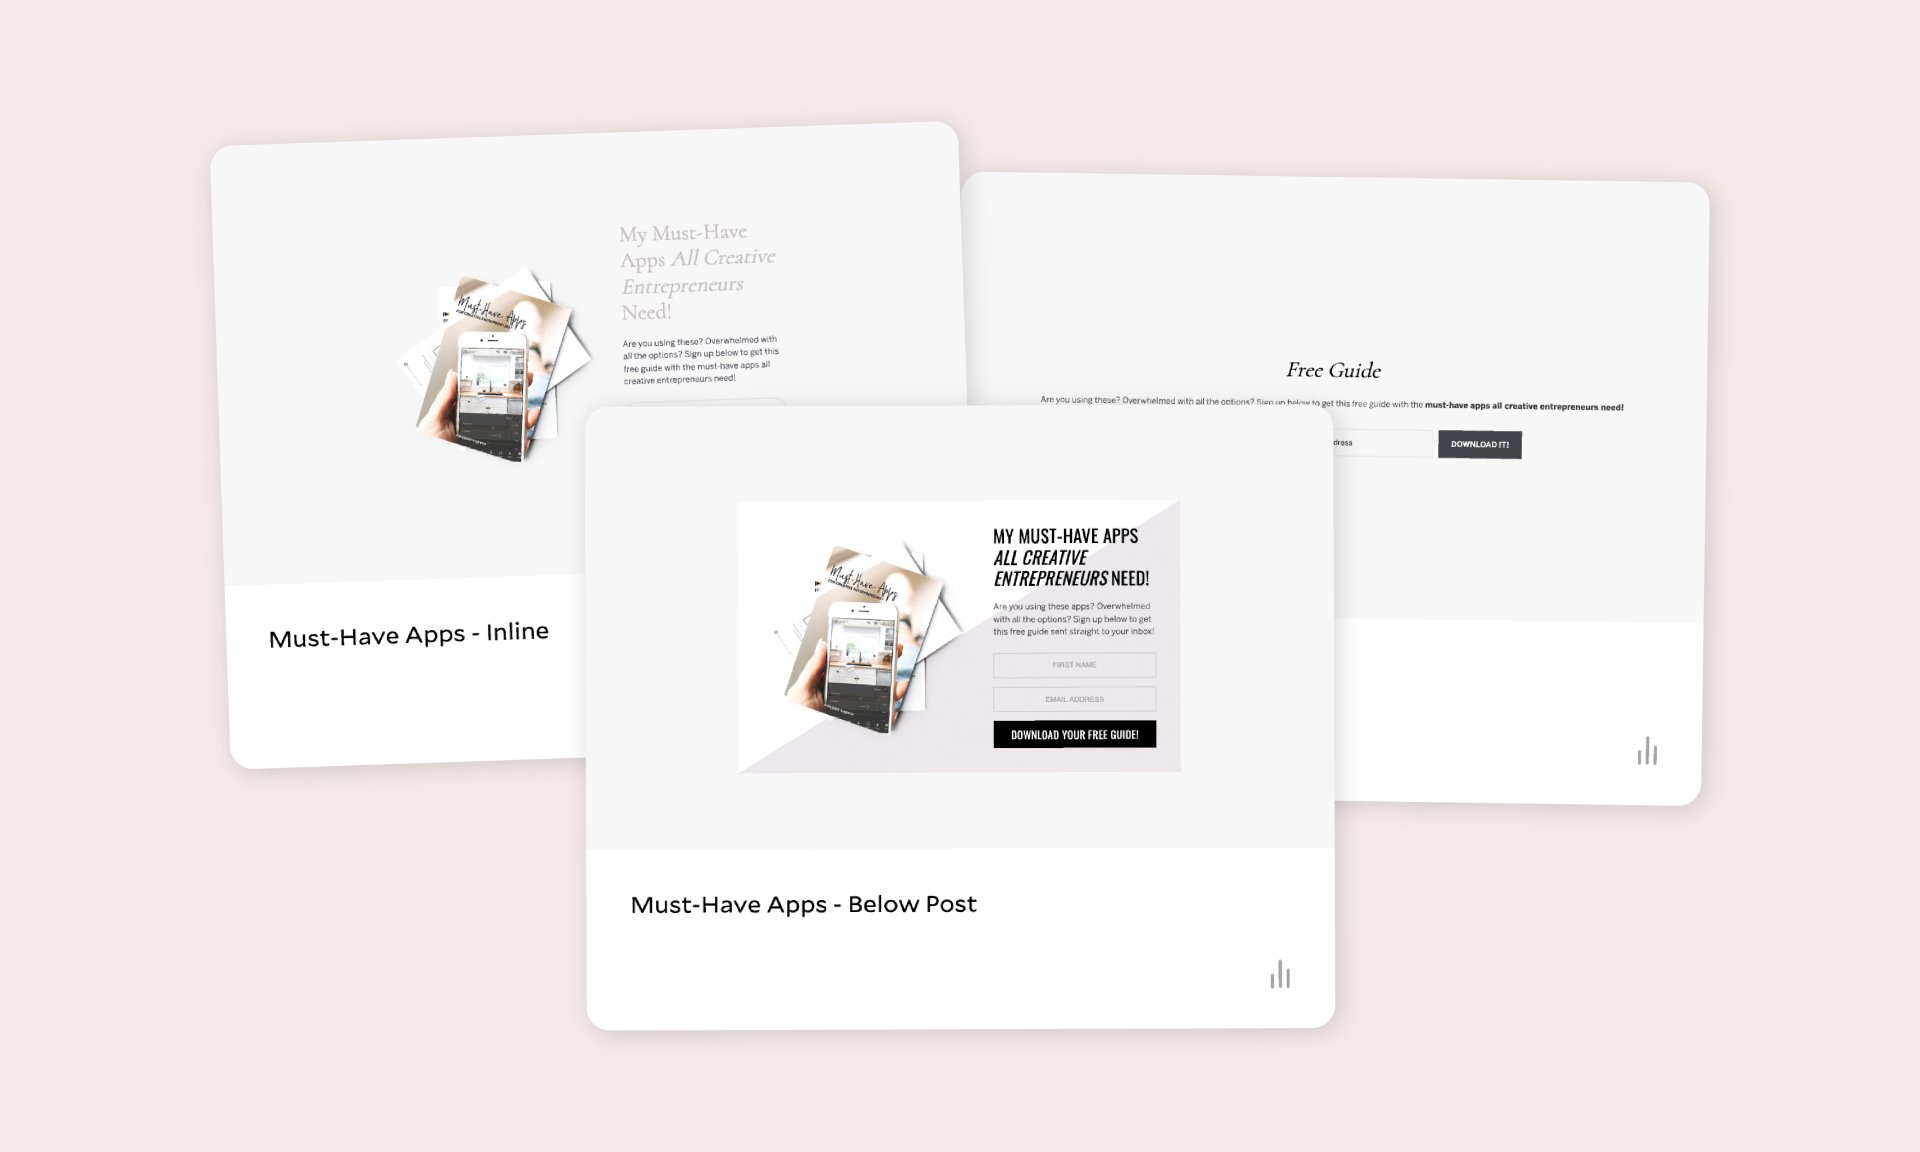
My current main opt-in incentive is a PDF about the must-have apps every creative entrepreneur needs. So I have a form titled:
- Must-Have Apps: Inline
- Must-Have Apps: Below Post
- Must-Have Apps: Landing Page
- Must-Have Apps: Footer
Each form is pretty much the same, except it might look a little different depending on the location it will be promoted. By keeping them segregated I can easily see which location converts the best. Currently the form in the footer of my site performs the best.
Don’t have an opt-in just yet? No worries! Create a form titled General and just keep it generic like “Subscribe to join my community of insiders!” or something like that. You can then put this form on your site. Want to test the location? Just hover over the form, click the three little dots, and duplicate the form. Remember to rename the form so you can keep track of them.
Once you’ve created a form, you’ll indicate what segment people from the form should be added to. This is where you will indicate how they should be categorized, which is why I recommend setting up segments first.
Don’t worry about actually embedding your forms anywhere yet because we want to make sure the rest of your account is set up before you start getting subscribers into Flodesk.
Step 4 – Workflow
Now, the really fun part! If you previously used ConvertKit, workflows are similar to visual automations. This is the way you will move people through a sequence to deliver them the right content at the right time.
Flodesk includes great workflow templates depending on what type of business you have. Start playing around with workflows to get a feel of how they work.
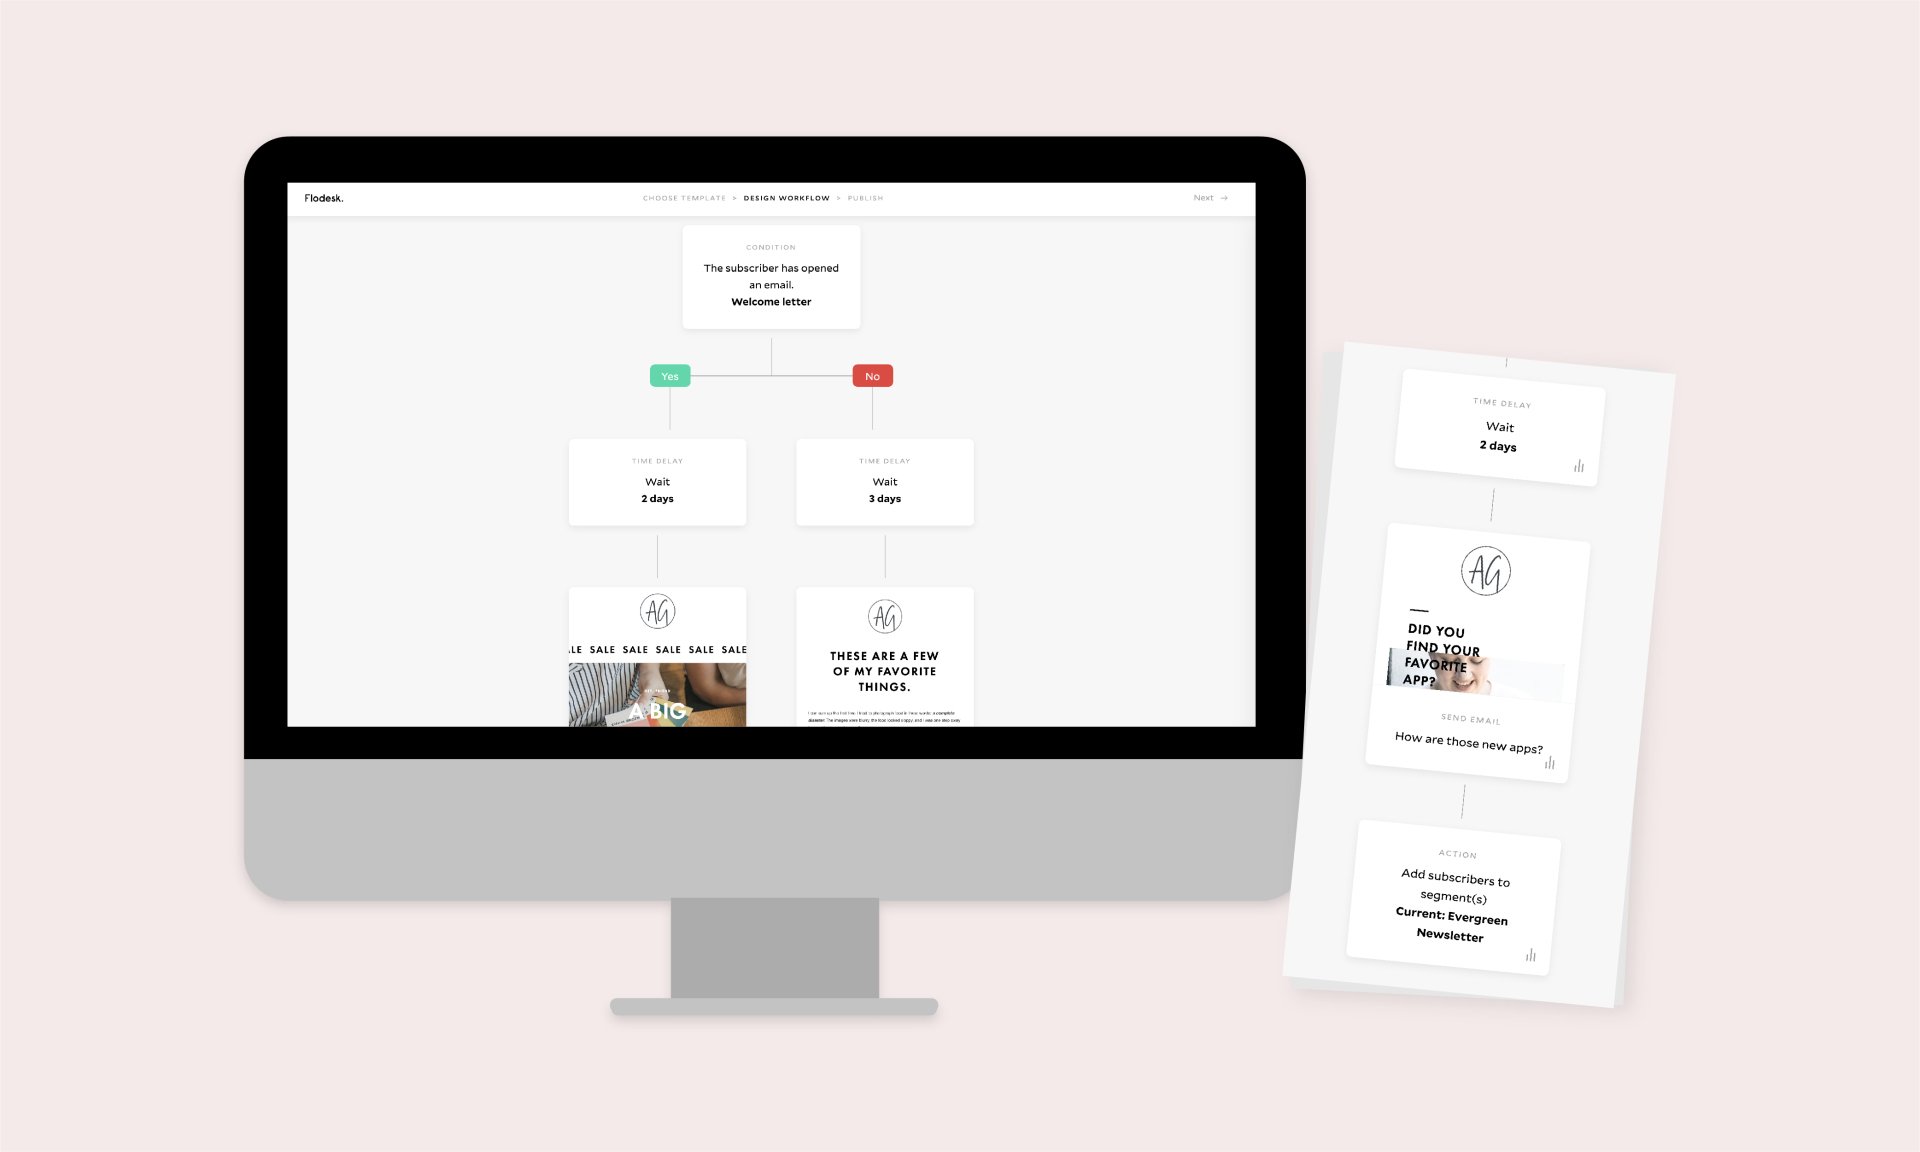
Let’s go back to the example of setting up a general welcome sequence workflow when someone opts-in for a freebie. Here’s an actual example of a clients general workflow for any new subscriber who opts in on her home page.
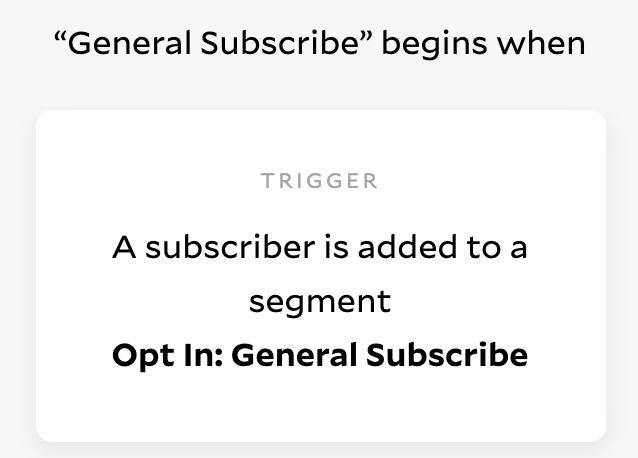
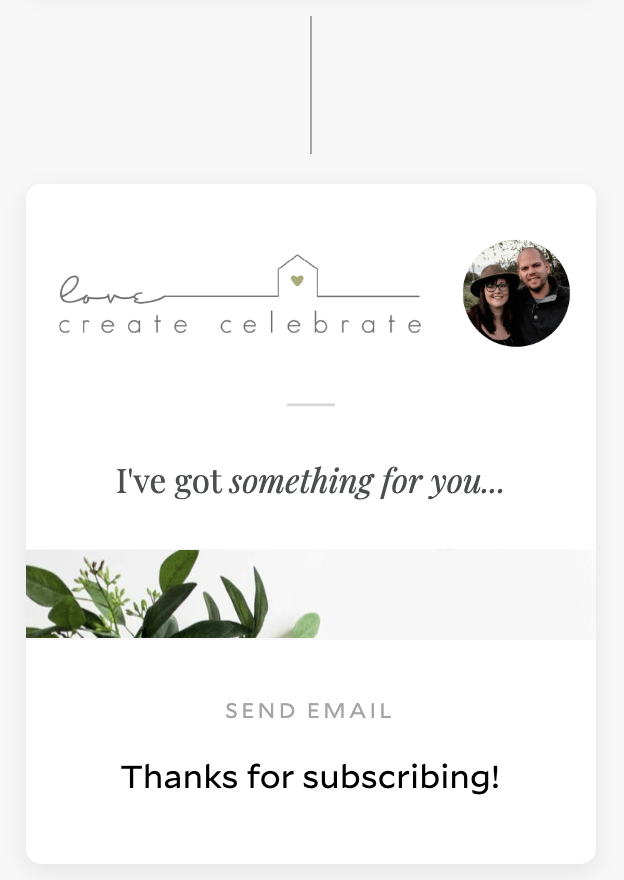
Subscriber opts in to your general subscribe form on your site. When they sign up on that form they get dropped in the segment Opt In: General Subscribe. Once that subscriber is added to that segment they automatically start the General Subscribe workflow.
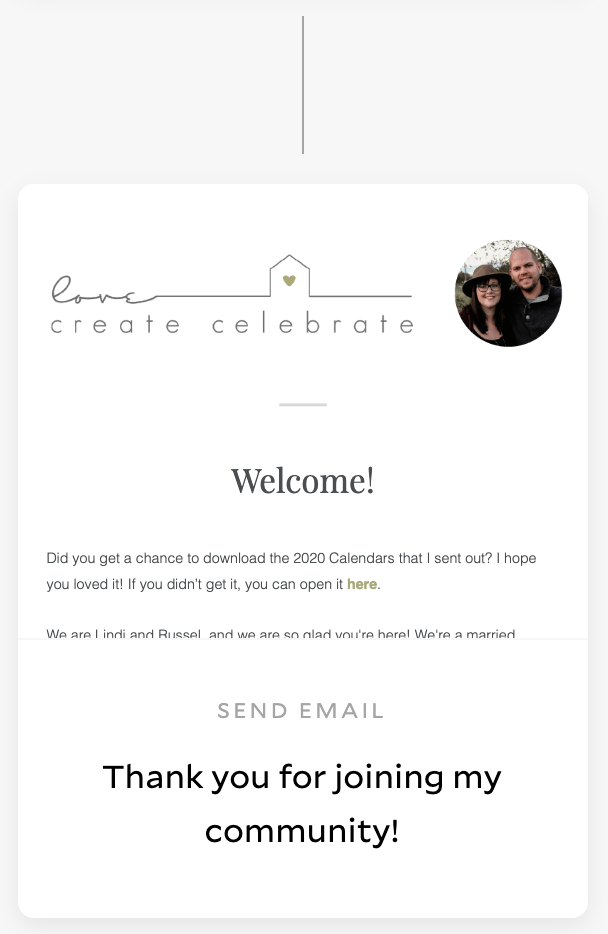
Immediately then it delivers the first email with a quick intro and giving away a freebie to incentivize them to stay engaged with your content.
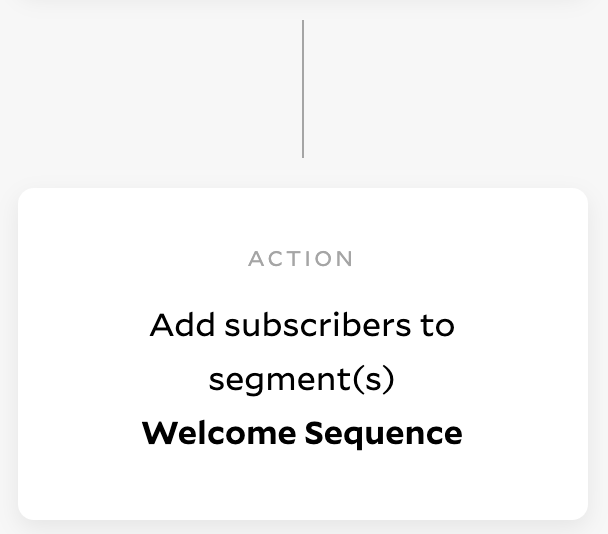
After that email is sent then the subscriber is automatically added to the segment Welcome Sequence. This moves the subscribers from the specific email regarding the general opt in to the welcome sequence that all new subscribers receive.
BEFORE YOU START BUILDING YOUR WORKFLOW…
Add a time delay towards the top of your workflow of 9999 days. This way, if you accidentally publish your workflow before you’re ready, someone doesn’t get pushed through your workflow. I like to add a time delay of 9999 days at the end of each workflow too, so that I know they aren’t going to get removed from my workflow before I’m ready for them to be done.
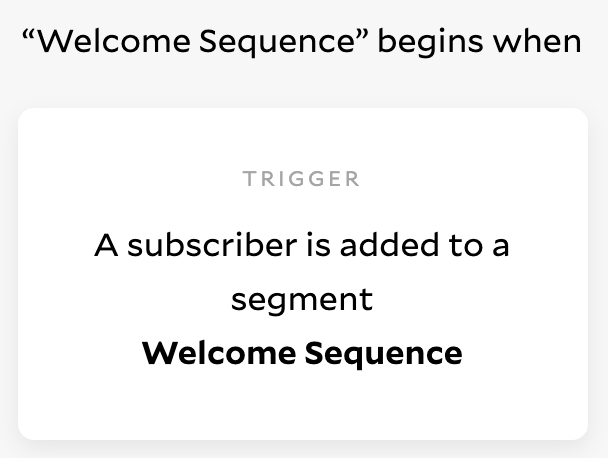
When added to that new segment it triggers this second workflow that is shown below.
Since the subscriber just received the initial thanks for subscribing email, we set a time delay to wait 1 day so they aren’t bombarded with too many emails right away.
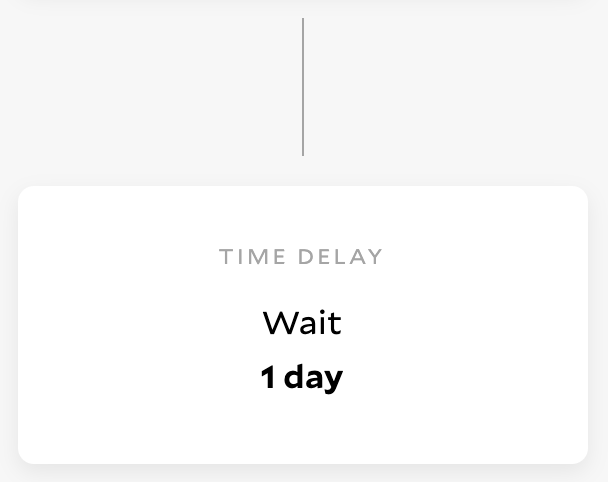
After a day, the subscriber receives the next email in the sequence welcoming them to the community and a little bit longer introduction.
The workflow continues with an email every 2-4 days introducing the new subscriber to popular content and offering freebie downloads and incentives to keep them engaged.
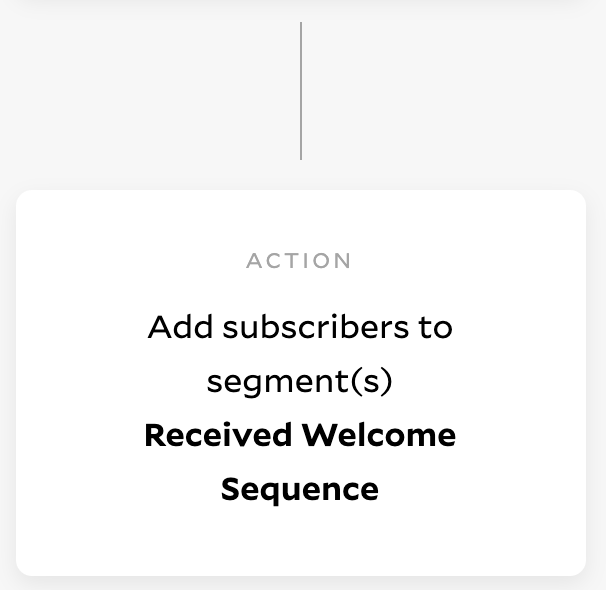
At the end of the workflow, each subscriber is added to the segment “received welcome sequence”. This way if she wants to send an individual email to her whole list, she can only send it to anyone in the received welcome sequence so a brand new subscriber doesn’t receive multiple emails in a day.
Workflows are going to be very specific to what you do, but Flodesk makes it very easy to just go through the steps to create emails and set up a flow that works well for you.
Remember the templates you favorited at the beginning? Don’t forget to use those templates when writing emails for your workflow. You can hover between two steps on the workflow, click the plus sign, and add an email. Click create new email and then in the sidebar when you’re looking at the templates there should be a category titled Favorites. That’s where your favorite templates you customized will live.
Step 5 – Replace Forms
In case you didn’t already, nows the time to replace all the forms on your site with the new Flodesk forms. This helps to get all new people in Flodesk so that current subscribers can finish up whatever welcome sequence they’re currently in while you get everything else setup.
Step 6 – Transfer Subscribers
Everything should be setup now and is ready for you to start rolling. It’s time to transfer your subscribers over from ConvertKit.
EXPORT FROM CONVERTKIT
First, you need to export your current list. If you wish to keep your segments, you’ll want to export each tag separately to keep it as clean as possible.
In ConvertKit, go to subscribers >>> Click on the tag you want to export >>> Click the checkbox to select all the subscribers within that tag >>> Select the dropdown and click export.
Within a few minutes you will get an email with your subscriber list.
IMPORT TO FLODESK
Next, you need to import the list into Flodesk.
Go to audience >>> subscribers >>> select upload CSV. Choose the csv export from ConvertKit and upload the list. You will have the option of matching up the columns from your CSV to your new subscriber data fields. Then, you need to select what segment the subscribers should be added to. If you have workflows set up for the segment you’re adding subscribers to, add some sort of custom code that you’ll understand so that the subscriber doesn’t get dropped in a workflow they’ve already been through when they were in ConvertKit.
For example, you might have a segment titled Potential Wedding Client. You want to make sure you still know what segment a subscriber falls under but don’t want them to run through a workflow they’ve already received. In this example I would do Potential Wedding Client (CK) so it’s easy for you to tell them apart. If you have a welcome sequence, also put them in the segment for “Received Welcome Sequence” so they don’t accidentally get sent through again.
Now, work through all your tags and add all your subscribers from ConvertKit into Flodesk.
FYI: If you have a subscriber in multiple tags, Flodesk will be able to detect that by their email address and group them together.
If you currently have a welcome sequence running on ConvertKit, be sure to keep your account open for the length of your longest sequence. Once you’ve exported your full list and all subscribers have finished the welcome sequence then you should be safe to cancel your account.
Step 7 – Email Your List
Last step? Start emailing your list! The best list is one that you engage with often. Whether that’s once a week or once a month…just start emailing your list and connect with your audience.
Once all your subscribers are transferred over from ConvertKit you can create a new email and send it to all subscribers. If you have a current welcome workflow running, be sure to only send the email to people in the segment indicating they’ve already received the welcome sequence.
If you want to move to Flodesk, but don’t want to go through the pain of moving everything yourself, let’s chat! I recently moved over all my client’s forms, sequences, and created beautiful, on-brand templates for her. I had so much fun I’ve decided to offer it as a service to others. If you want more info, email me at hello@amanda-garvin.com with Flodesk Transfer in the subject line and I’ll get back to you asap.